As an Amazon Associate, I earn from qualifying purchases.
When moisture gets trapped in your carpet, time becomes your biggest enemy. Whether you’re dealing with a professional cleaning, an accidental spill, or flood damage, drying carpets properly prevents serious problems like mold growth, fiber damage, and persistent odors that can plague your home for months.
This guide walks you through the complete process of carpet drying, from immediate moisture removal to final inspection. You’ll learn proven techniques that restoration professionals use, discover which tools work best for different situations, and understand how various carpet types require specific drying approaches.
Most importantly, you’ll know exactly when your carpet is truly dry and safe to use again. The methods covered here can save you thousands in replacement costs while protecting your family’s health.
Read Next: Wet Carpet Not Drying
Why Proper Carpet Drying Is Important
Getting carpets completely dry isn’t just about comfort. Moisture creates the perfect environment for problems that can affect both your home and health.
Prevents Mold and Mildew Growth
Mold spores exist everywhere, but they need moisture to grow. Carpets that stay damp for more than 24-48 hours become breeding grounds for mold colonies. Once established, mold spreads rapidly through carpet fibers, padding, and even subfloors. Professional mold remediation can cost $3,000-$10,000, making proper drying a critical first step.
Protects Carpet Fibers and Backing
Water weakens carpet fibers over time. Natural fibers like wool can shrink or become misshapen when they dry too slowly or unevenly. The latex backing that holds carpet together can also deteriorate when exposed to prolonged moisture, causing delamination where the carpet surface separates from its base.
Avoids Unpleasant Odors
Wet carpets develop musty smells within hours. These odors come from bacteria multiplying in moist conditions. Additionally, any existing dirt or pet accidents trapped in carpet fibers become more potent when wet, creating compound odor problems that standard cleaning can’t eliminate.
Preserves Indoor Air Quality
Damp carpets release moisture into your home’s air, raising humidity levels. High humidity encourages dust mites and other allergens while making spaces feel stuffy and uncomfortable. Poor air quality affects everyone, but particularly impacts those with asthma or respiratory sensitivities.
Extends Carpet Lifespan
Carpets that dry properly after cleaning or water exposure maintain their appearance and structural integrity longer. Conversely, carpets that repeatedly stay damp develop permanent staining, fiber damage, and backing problems that require early replacement.
How to Dry Carpets (Step-by-Step Guide)
Follow these steps in order for the most effective carpet drying process. Each step builds on the previous one to maximize moisture removal and prevent damage.
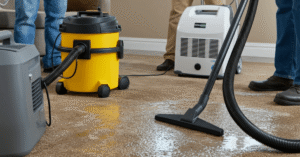
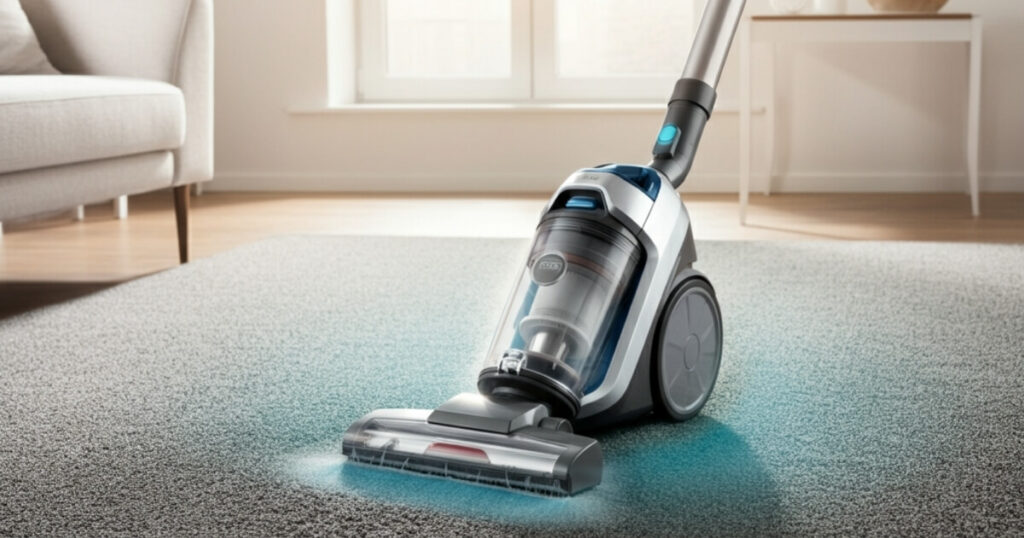
Step 1: Blot or Extract Excess Moisture
Start by removing as much standing water as possible. For small areas, use clean towels to blot moisture without rubbing, which pushes water deeper into fibers. Press down firmly and replace towels as they become saturated.
For larger areas or significant water exposure, use a wet/dry vacuum or carpet extractor. Make multiple passes in different directions, overlapping each pass by several inches. The goal is removing visible moisture before moving to drying techniques.
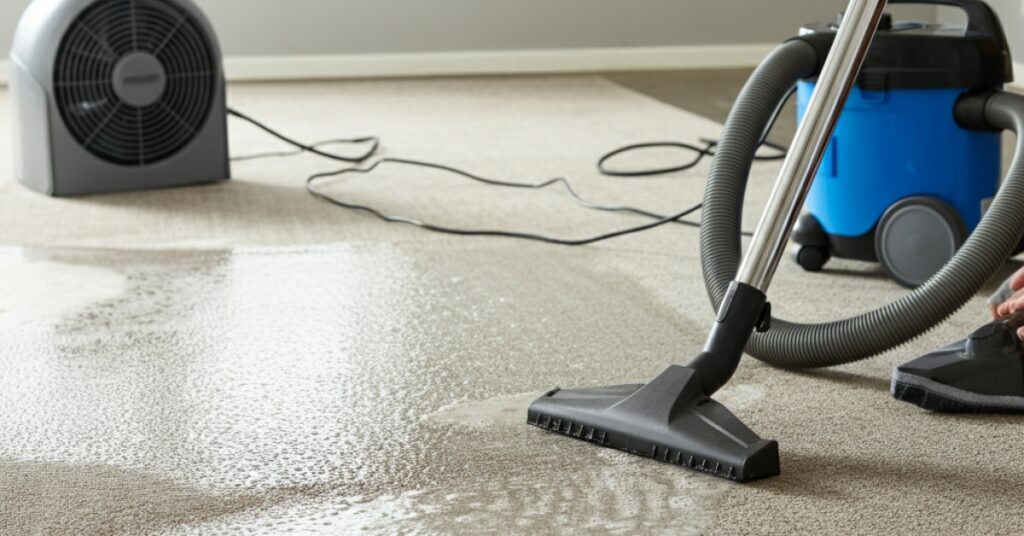
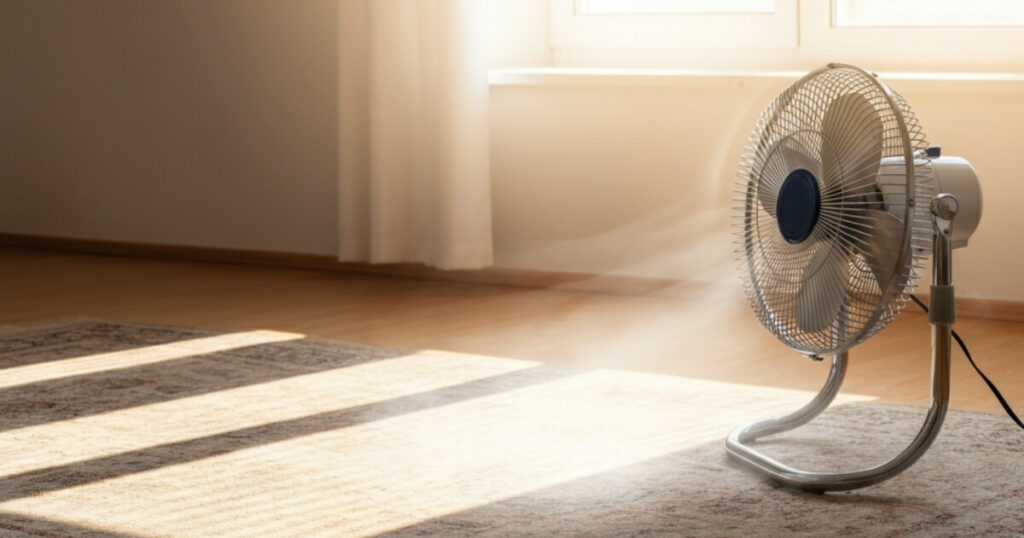
Step 2: Use Fans or Air Movers for Airflow
Position fans to create cross-ventilation across wet carpet areas. Place at least one fan at each end of the affected area, angled to blow air across the carpet surface rather than straight down. This creates airflow that carries moisture away from fibers.
Professional air movers work more effectively than household fans because they move larger volumes of air at higher speeds. If using regular fans, use multiple units and position them strategically around the room’s perimeter.
Step 3: Open Windows or Use Dehumidifiers
Natural ventilation helps when outdoor humidity is lower than indoor levels. Open windows on opposite sides of the room to create cross-breezes that carry moisture outside.
However, if outdoor humidity exceeds 60%, keep windows closed and use dehumidifiers instead. Set dehumidifiers to maintain indoor humidity between 30-50%. Empty collection tanks regularly and position units away from walls for maximum air circulation.
Step 4: Lift Carpet if Moisture is Trapped Underneath
Check carpet edges for moisture accumulation. If water has reached the padding or subfloor, you may need to lift carpet sections to promote drying. Use a carpet tucker or putty knife to carefully pull carpet away from tack strips.
Lift only as much as necessary to access wet areas. Create air gaps between carpet and padding using wooden blocks or carpet drying mats. This allows air to circulate underneath where moisture typically lingers longest.
Step 5: Inspect Padding and Subfloor
Examine carpet padding for saturation. Waterlogged padding rarely dries completely and often requires replacement to prevent mold growth. Press the padding firmly; if water squeezes out, replacement is necessary.
Check subfloors for moisture penetration, especially around seams and nail holes. Wood subfloors that remain wet can warp, crack, or develop rot. Use fans to direct airflow under lifted carpet sections, focusing on these vulnerable areas.
Step 6: Sanitize if Needed and Monitor Drying Progress
If water came from contaminated sources (sewage, flood water, or pet accidents), sanitize affected areas before final drying. Use antimicrobial solutions designed for carpets, following manufacturer dilution and application instructions.
Monitor drying progress every few hours. Touch carpet surfaces and padding to assess moisture levels. Use a moisture meter for accuracy, taking readings in multiple locations. Continue drying until moisture content matches surrounding dry areas.
Read Next: Bissell Little Green Multi-Purpose Portable Carpet Cleaner Review | Is It Worth It?
Best Tools for Drying Carpets Efficiently
Professional-grade equipment speeds the drying process significantly while reducing the risk of secondary damage. Here are the most effective tools for carpet drying.
A quality wet/dry vacuum removes standing water and extracts moisture from carpet fibers more effectively than towels alone. Look for models with at least 5-6 horsepower and wide floor tools designed for carpet cleaning. Some units include built-in pumps for continuous operation without frequent emptying.
High-Speed Fans
Industrial air movers push 2,000-3,000 cubic feet of air per minute, far exceeding household fans. Their focused airflow penetrates carpet pile and reaches padding underneath. Centrifugal fans work best for carpet drying because they create sustained, high-velocity airflow across large areas.
Dehumidifiers
Refrigerant dehumidifiers work well in moderate conditions but may struggle in extreme humidity. Desiccant dehumidifiers maintain effectiveness even in high-humidity situations and continue working at lower temperatures. Size dehumidifiers based on room square footage and moisture load.
Carpet Dryers
Specialized carpet drying systems combine air movement with heating elements to accelerate evaporation. These units direct warm, dry air into carpet fibers while simultaneously extracting humid air. They’re particularly effective for thick carpets or areas with limited ventilation.
Moisture Meters
Non-invasive moisture meters measure water content without damaging carpet fibers. Pin-type meters provide precise readings but require small punctures. Pinless meters scan larger areas quickly but may be less accurate in thick carpets. Both types help determine when drying is complete.
Drying Different Carpet Types
Different carpet materials and constructions require specific drying approaches to prevent damage while ensuring complete moisture removal.
Wool Carpets: Dry Gently, Avoid Heat
Wool fibers are sensitive to heat and can shrink or felt when exposed to high temperatures. Use room temperature air movement only, never heated air. Wool also takes longer to dry than synthetic materials, so plan for extended drying times.
Check wool carpets frequently during drying to ensure they’re not developing water spots or color bleeding. If colors begin running, stop drying immediately and consult a professional carpet cleaner.
Synthetic Carpets: Faster Drying, But Monitor for Odors
Nylon, polyester, and polypropylene carpets dry more quickly than natural fibers and can tolerate moderate heat. However, synthetic materials may trap odors more readily, especially if the original moisture contained contaminants.
Pay attention to any developing smells during the drying process. If odors appear, increase ventilation and consider using odor-neutralizing treatments before final drying.
Berber Carpets: Dense Weave May Trap Moisture Longer
Berber’s tight loop construction creates dense fabric that holds moisture longer than cut pile carpets. Water can become trapped between loops and in the base of the carpet structure.
Use higher air velocity and extend drying times for Berber carpets. Consider lifting sections more frequently to check for trapped moisture underneath.
Area Rugs: Hang or Elevate for Airflow
Smaller area rugs dry most effectively when elevated to allow air circulation on both sides. Hang rugs over sturdy racks or suspend them between two points. If hanging isn’t possible, elevate rugs on blocks or drying racks.
Rotate rugs every few hours to ensure even drying. Pay special attention to fringed edges, which often retain moisture longer than the main carpet area.
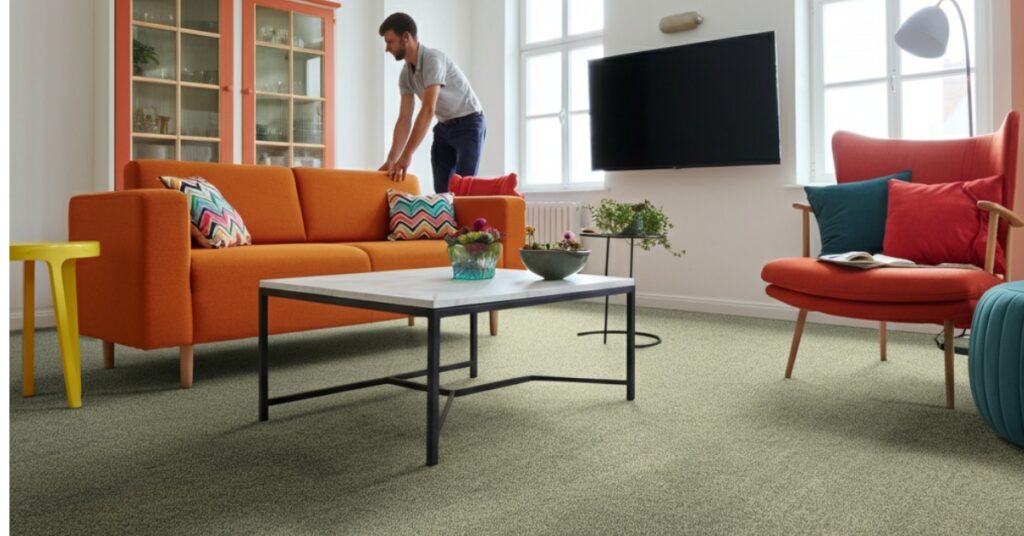
Taking Action for Proper Carpet Care
Effective carpet drying protects your investment while maintaining a healthy indoor environment. The techniques outlined here help you handle everything from routine cleaning to emergency water situations with confidence.
Remember that timing matters most in carpet drying. The faster you begin the drying process, the better your outcomes will be. When in doubt, err on the side of more ventilation and longer drying times rather than rushing the process.
For extensive water damage or valuable carpets, professional restoration services have specialized equipment and expertise that may justify their cost. However, understanding proper drying techniques helps you make informed decisions and take immediate action when needed.
Frequently Asked Questions
How long does it take for carpet to dry after cleaning?
Typically 6-12 hours with proper ventilation and air movement. Thick carpets or high humidity conditions may require 24 hours or longer.
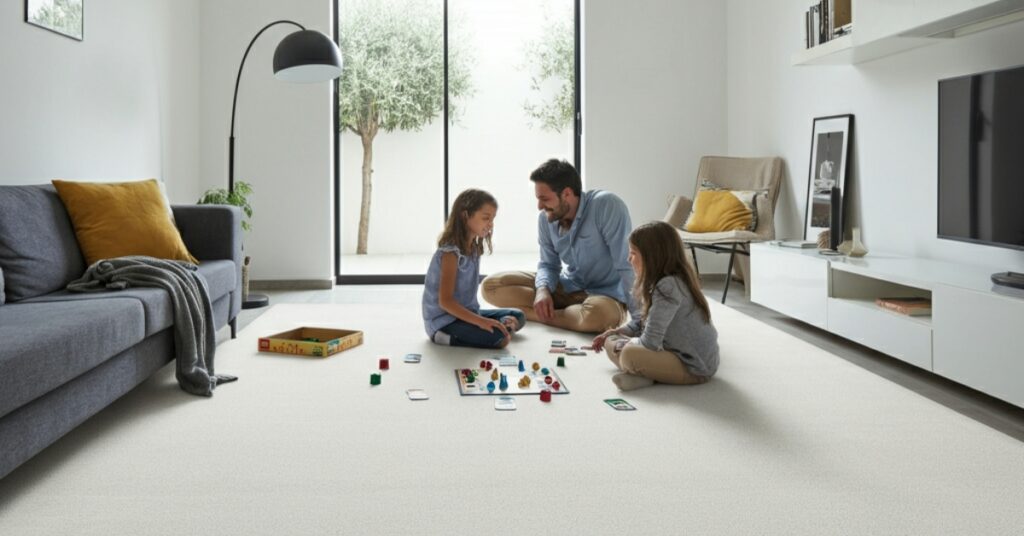
Can I walk on carpet while it’s drying?
Yes, but minimize foot traffic to avoid tracking dirt onto wet fibers. Wear clean socks or shoe covers if you must walk on drying carpet.
What if my carpet still smells after drying?
Lingering odors usually indicate incomplete drying or contaminated moisture. Check padding and subfloor for remaining moisture and consider professional cleaning.
Should I lift carpet to dry it faster?
Yes, if moisture has reached the padding or subfloor. Lifting carpet creates air circulation where moisture typically lingers longest.
Is it safe to use a heater to dry carpet?
Use caution with heating equipment. Keep heaters away from carpet surfaces and never use open flame devices. Warm air helps, but excessive heat can damage fibers.
As an Amazon Associate, I earn from qualifying purchases.