As an Amazon Associate, I earn from qualifying purchases.
Water damage can turn your comfortable home into a nightmare scenario. When flooding, leaks, or spills soak through your carpet, you need to act fast. Knowing how to pull up carpet to dry properly can mean the difference between saving your flooring and facing costly replacements.
This comprehensive guide walks you through the entire process of lifting carpet for drying purposes. Whether you’re dealing with a burst pipe, storm flooding, or a major spill, these steps will help you minimize damage and prevent mold growth. You’ll learn the proper techniques, safety precautions, and when to call in professionals.
Time is critical when water seeps into carpeting. The longer moisture sits, the greater your risk of permanent damage, health hazards, and structural issues. However, with the right approach and tools, you can often save both your carpet and the flooring underneath.
Why You Might Need to Pull Up Carpet to Dry
Water-soaked carpeting creates multiple problems that go far beyond surface-level dampness. Understanding these issues helps you make informed decisions about your restoration approach.
Prevent Mold and Mildew Growth
Mold spores begin developing within 24 to 48 hours in moist environments. Carpet fibers, padding, and subflooring provide ideal conditions for rapid growth. Once mold takes hold, it spreads quickly and releases harmful airborne particles that affect indoor air quality.
Lifting wet carpeting allows air circulation underneath, disrupting the warm, dark conditions mold needs to thrive. This immediate action significantly reduces health risks and prevents extensive contamination.
Dry Soaked Padding and Subfloor
Carpet padding acts like a sponge, absorbing and holding moisture longer than the carpet itself. Meanwhile, water often penetrates to the subfloor, where it can cause warping, rot, or structural damage.
Removing carpet exposes these hidden areas to airflow and dehumidification equipment. This targeted drying prevents long-term structural problems that could cost thousands to repair later.
Avoid Long-Term Damage and Odors
Trapped moisture creates persistent musty odors that worsen over time. These smells penetrate carpet fibers, padding, and even wooden subfloors. Additionally, prolonged dampness weakens carpet backing and adhesives.
Quick carpet removal and proper drying eliminate odor-causing bacteria and preserve the integrity of your flooring materials. This proactive approach often allows you to reinstall the same carpet after thorough cleaning and drying.
Improve Airflow and Drying Efficiency
Wet carpet creates a barrier that slows evaporation from underneath. Rolling back or removing carpet dramatically improves air circulation throughout the affected area.
Enhanced airflow accelerates the drying process for all layers of your flooring system. This efficiency reduces the overall restoration time and minimizes secondary damage from prolonged moisture exposure.
Read Next: Wet Carpet Not Drying
How to Pull Up Carpet to Dry (Step-by-Step Guide)
Follow these detailed steps to safely and effectively remove carpet for drying purposes. Take your time with each step to avoid damage to the carpet or surrounding areas.
Step 1: Identify Water-Damaged Areas
Start by thoroughly examining your carpeted space to determine the full extent of water penetration. Walk across the carpet and note any squishy, soggy, or unusually soft areas. Use your hands to press down on suspicious sections.
Check along walls, under furniture, and in corners where water often accumulates. Look for visible water stains, discoloration, or bubbling in the carpet surface. Mark these areas with chalk or tape to guide your removal process.
Pay special attention to areas near the water source, as damage often extends further than initially apparent. Document the affected zones with photos for insurance purposes if the damage resulted from a covered event.
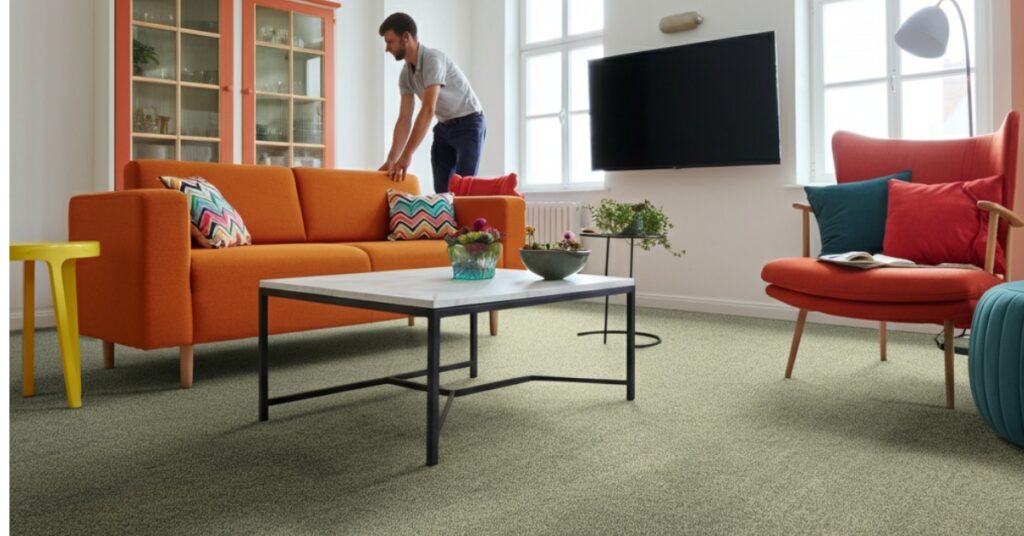
Step 2: Remove Furniture and Clear the Space
Carefully move all furniture, decorations, and personal items from the water-damaged area. Place wooden furniture legs on plastic or aluminum foil to prevent further water damage during the drying process.
Store removed items in a dry location where they won’t interfere with your work. Clean and dry any items that contacted contaminated water before placing them in storage.
Ensure you have adequate workspace around the carpet edges. This clearance allows you to maneuver freely while removing carpet sections and gives drying equipment room to operate effectively.
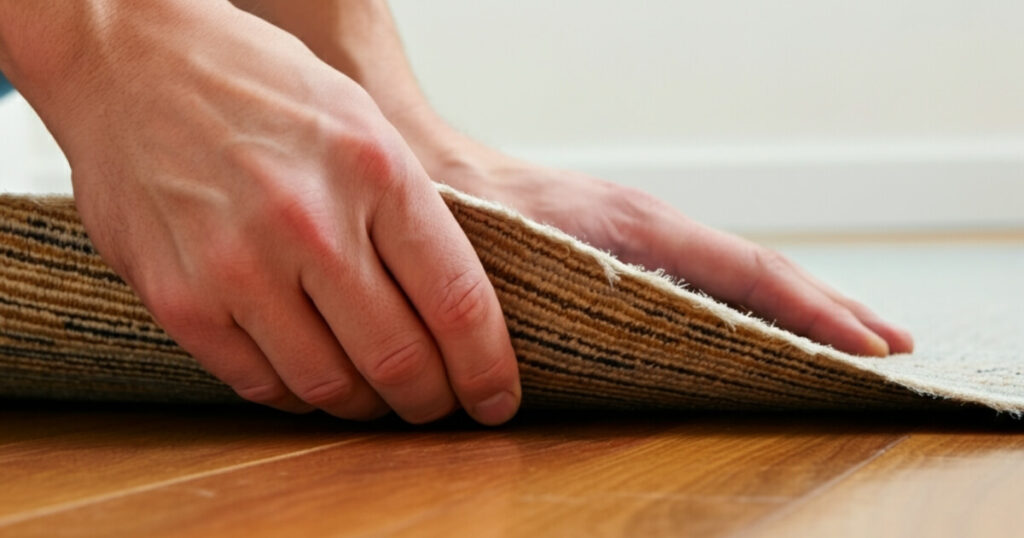
Step 3: Use Pliers to Detach Carpet from Tack Strips
Locate the carpet edge along one wall, typically near a doorway or less visible area. Grip the carpet firmly with needle-nose pliers and pull upward at a slight angle. The carpet should separate from the tack strips that hold it in place.
Work systematically along the wall, releasing small sections at a time. Avoid yanking or pulling too hard, as this can tear the carpet or damage the backing. If you encounter resistance, adjust your grip and try a different angle.
Some areas may have carpet tucked under molding or trim. Carefully work these sections loose using a thin pry bar or putty knife. Take care not to damage the trim, as you’ll need to reinstall it later.
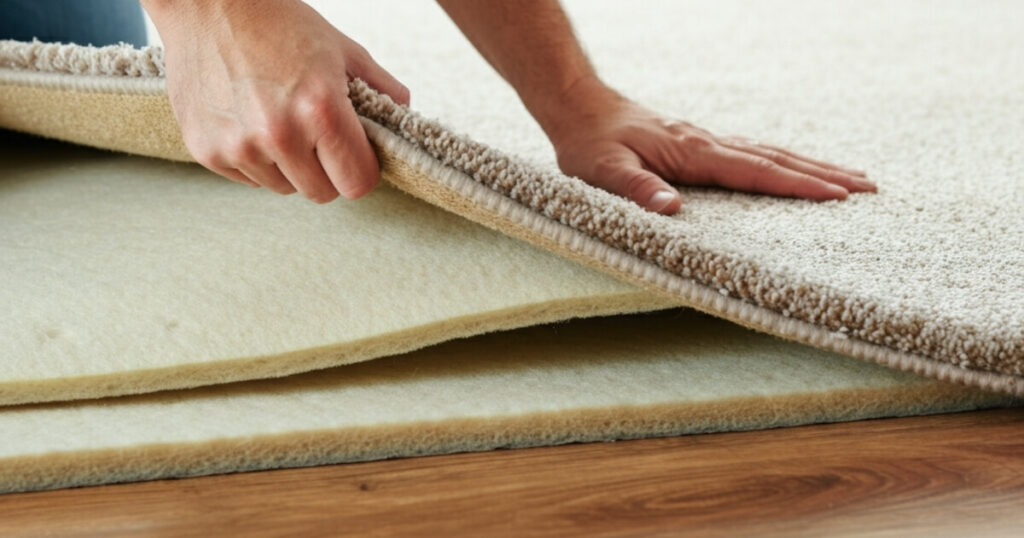
Step 4: Roll Back Carpet Carefully
Once you’ve freed one edge, begin rolling the carpet back on itself. Keep the carpet face-side in to protect the visible surface from dirt and damage. Roll slowly and steadily to maintain control.
For large rooms, you may need to make relief cuts in the carpet to create manageable sections. Use a sharp utility knife to cut through the backing, but avoid cutting all the way through to the subfloor.
Support the weight of rolled carpet sections to prevent tearing at stress points. Consider enlisting help for heavy or awkward areas, especially when working with thick or high-quality carpeting.
Step 5: Remove and Inspect Padding
Carpet padding typically lies loose on the subfloor, held in place by staples around the perimeter. Pull up the padding and examine its condition carefully. Severely water-damaged padding often appears discolored, smells musty, or feels slimy to the touch.
Remove all staples from the subfloor using pliers or a pry bar. Dispose of damaged padding immediately, as it can harbor bacteria and mold spores. Even slightly damp padding should be discarded if it’s been wet for more than 24 hours.
Clean padding that appears salvageable should be dried separately in a well-ventilated area. However, replacement padding is relatively inexpensive and often the safer choice after water damage.
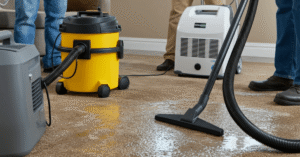
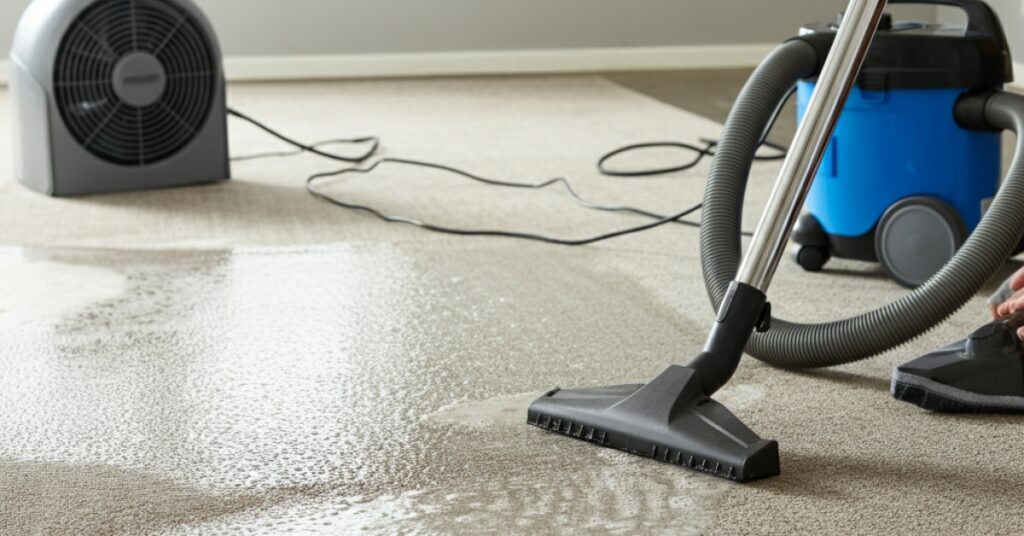
Step 6: Dry Carpet, Padding, and Subfloor with Fans and Dehumidifiers
Position high-velocity fans to create airflow across all exposed surfaces. Place fans at different heights and angles to maximize air circulation. Open windows and doors if outdoor humidity levels are lower than indoor levels.
Run dehumidifiers continuously to extract moisture from the air. Empty collection tanks regularly and monitor humidity levels with a hygrometer. Aim for indoor humidity below 50% to prevent mold growth.
Clean the carpet with appropriate solutions if contamination is present. Hang carpet sections over sawhorses or other supports to allow air circulation on both sides. Rotate carpet positions periodically to ensure even drying.
Step 7: Reinstall or Replace Carpet and Padding
Once everything is thoroughly dry, inspect all components for damage, odor, or signs of mold. Replace any questionable materials rather than risk future problems.
Install new padding using the same pattern as the original installation. Stretch the carpet back into position, reattaching it to tack strips around the perimeter. Trim excess carpet along edges and tuck under baseboards.
Consider professional reinstallation if you’re uncomfortable with the stretching and trimming process. Proper installation ensures your carpet looks professional and wears evenly over time.
Tools and Safety Tips for Carpet Removal
Having the right equipment makes carpet removal safer and more efficient. Gather these essential tools before starting your project.
Essential Tools
Needle-nose pliers provide the best grip for lifting carpet from tack strips. Choose pliers with comfortable handles, as you’ll be using them extensively throughout the removal process.
A sharp utility knife handles cutting tasks and trimming operations. Keep extra blades handy, as carpet backing can dull blades quickly. A pry bar helps remove stubborn staples and assists with trim removal.
Work gloves protect your hands from sharp tack strip points and rough carpet backing. Choose gloves that provide good dexterity while offering adequate protection.
Safety Considerations
Wear a dust mask or respirator if you suspect mold contamination. Disturbing moldy materials releases spores into the air, creating health risks for anyone in the area.
Ensure adequate ventilation throughout the removal process. Open windows and use fans to maintain fresh air circulation, especially in enclosed spaces.
Tack strips contain sharp points that can cause puncture wounds. Watch your footing carefully and consider wearing work boots for additional protection.
Documentation Tips
Take detailed photos before, during, and after the removal process. These images serve as valuable documentation for insurance claims and help you remember the original installation pattern.
Note the carpet’s direction and any pattern matching requirements. Mark pieces clearly if you need to reinstall the same carpet in multiple rooms or sections.
Keep receipts for all tools, equipment, and replacement materials. Many insurance policies cover reasonable restoration costs, including tool rental fees.
Read Next: Bissell Little Green Multi-Purpose Portable Carpet Cleaner Review | Is It Worth It?
When to Replace vs. Reinstall Carpet
Several factors determine whether carpet can be saved or needs replacement. Making the right decision early prevents future problems and ensures a healthy indoor environment.
Signs of Mold or Mildew
Visible mold growth appears as black, green, or brown spots on carpet backing or padding. Musty odors that persist after cleaning and drying indicate hidden mold colonies that may be impossible to eliminate completely.
If mold is present, replacement is typically the safest option. Attempting to clean heavily contaminated carpet often spreads spores throughout your home and creates ongoing health risks.
Professional mold testing can provide definitive answers if contamination levels are uncertain. This testing is particularly important for families with allergies, asthma, or immune system concerns.
Damage to Carpet Backing or Padding
Carpet backing that separates, crumbles, or becomes slimy cannot be repaired effectively. These conditions indicate severe water damage that compromises the carpet’s structural integrity.
Padding that remains wet for more than 48 hours typically requires replacement regardless of its apparent condition. Saturated padding provides ideal conditions for bacteria and mold growth that pose health risks.
Delamination, where carpet fibers separate from the backing material, creates permanent damage that affects both appearance and durability. This condition always requires carpet replacement.
Persistent Odors or Discoloration
Odors that return after thorough cleaning and drying suggest bacterial growth or contamination that cannot be eliminated. These persistent smells often worsen over time and affect indoor air quality.
Water stains that penetrate carpet fibers may fade but rarely disappear completely. Consider replacement if staining affects visible areas or covers large sections of carpeting.
Chemical odors from cleaning products or water treatment systems may require professional assessment. Some contamination sources create permanent odors that make carpet unsuitable for continued use.
Age and Condition of Carpet
Older carpets with existing wear patterns or damage may not justify restoration costs. Compare replacement costs against restoration expenses, including professional cleaning, padding replacement, and reinstallation labor.
High-quality carpets in good condition before water damage often merit restoration efforts. These carpets can provide years of additional service when properly dried and cleaned.
Budget-grade carpeting may cost less to replace than restore, especially when factoring in the time and effort required for proper drying and cleaning.
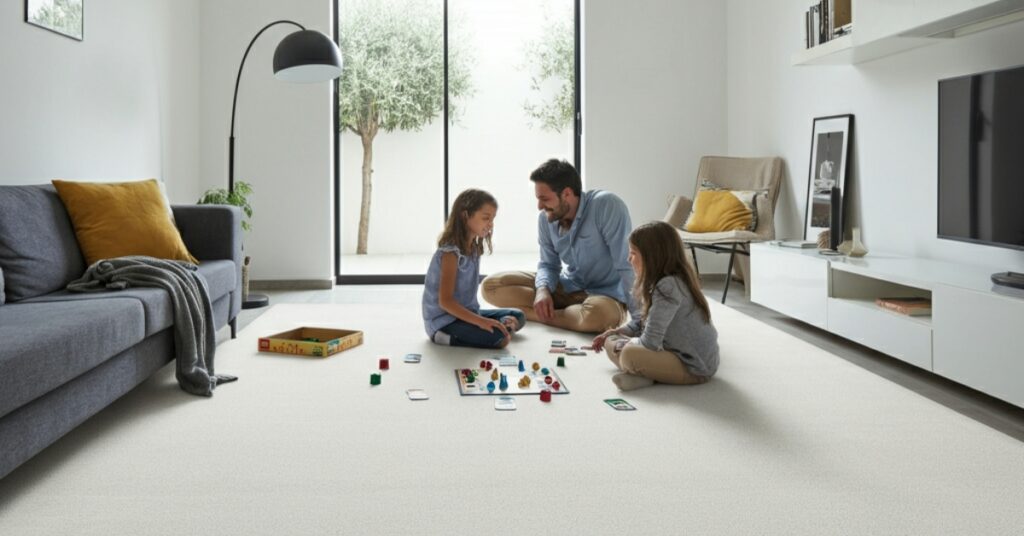
Taking Swift Action Saves Your Flooring and Health
Pulling up carpet to dry requires prompt action and systematic execution. The techniques outlined in this guide help you minimize damage while protecting your family’s health and your property investment.
Remember that speed is critical when dealing with water-damaged carpeting. Every hour of delay increases the risk of mold growth, structural damage, and permanent odors. However, rushing through the removal process can cause unnecessary damage to salvageable materials.
When in doubt, consult with water damage restoration professionals who can assess your specific situation. Their expertise helps you make informed decisions about repair versus replacement while ensuring proper safety protocols throughout the restoration process.
Frequently Asked Questions
How long does it take to dry carpet after pulling it up?
Typically 24 to 72 hours with proper airflow and dehumidification. Thick carpets or high humidity conditions may require longer drying times.
Can I reuse the same carpet padding after water damage?
No, water-damaged padding should be replaced in most cases. Padding holds moisture longer than carpet and provides ideal conditions for mold growth.
What if the subfloor is still wet?
Continue drying with fans and dehumidifiers until moisture levels return to normal. Wet subfloors can take several days to dry completely and may require professional assessment.
Is it safe to pull up carpet myself?
Yes, for clean water damage. However, sewage or contaminated water requires professional remediation due to health risks from harmful bacteria and chemicals.
Do I need professional help to reinstall carpet?
Not necessarily, but professional installation ensures proper stretching and appearance. DIY installation is possible with patience and attention to detail.
As an Amazon Associate, I earn from qualifying purchases.