As an Amazon Associate, I earn from qualifying purchases.
Replacing carpet on your boat can transform your vessel’s interior while improving comfort and safety. Marine carpeting endures harsh conditions including saltwater, UV rays, and constant moisture. Therefore, knowing when and how to replace carpet on a boat becomes essential for maintaining your investment. This guide walks you through the entire process, from selecting the right materials to professional installation techniques.
Most boat owners discover that marine carpet replacement requires specific materials and methods different from household carpeting. Marine-grade carpets resist mold, mildew, and fading while providing excellent drainage. Additionally, proper installation ensures longevity and prevents water damage to your boat’s flooring structure.
Why Marine Carpet Replacement Matters
Marine environments create unique challenges for boat carpeting that standard materials cannot handle. Saltwater exposure, intense UV radiation, and frequent moisture cycles quickly deteriorate regular carpet fibers. Consequently, marine carpet uses specialized synthetic materials designed specifically for aquatic environments.
Quality marine carpeting enhances your boat’s safety by providing non-slip surfaces, especially when wet. Furthermore, it protects underlying deck materials from water damage and UV exposure. Regular replacement maintains these protective qualities while keeping your boat looking professional and well-maintained.
Signs You Need to Replace Carpet on a Boat
Several clear indicators suggest it’s time for marine carpet replacement. First, visible wear patterns, fraying edges, or permanent stains signal that your current carpeting has reached its lifespan limit. Additionally, persistent odors that cleaning cannot eliminate often indicate mold or mildew growth within the carpet backing.
Water pooling on the carpet surface rather than draining through indicates that the drainage properties have failed. Similarly, if the carpet feels spongy or loose underfoot, the adhesive or backing material has likely deteriorated. These conditions not only look unprofessional but can also create safety hazards for passengers.
Choosing the Right Marine Carpet
Selecting appropriate materials is crucial when you replace carpet on a boat. Marine carpets typically use polypropylene or nylon fibers that resist moisture, fading, and mildew growth. Polypropylene offers excellent drainage and quick-drying properties, while nylon provides superior durability and comfort underfoot.
Backing materials also matter significantly in marine applications. Look for carpets with marine-grade latex or synthetic backing that allows water drainage while preventing mold growth. Additionally, consider UV-treated fibers that maintain color integrity despite constant sun exposure. Quality marine carpeting may cost more initially, but it provides much better value through extended lifespan and performance.
Tools and Materials for Boat Carpet Replacement
Proper tools and materials ensure professional results when you replace carpet on a boat. Essential tools include a sharp utility knife, marine adhesive, measuring tape, and a roller for proper adhesion. Additionally, you’ll need a heat gun or hair dryer for working around curved surfaces and corners.
Quality marine adhesive specifically designed for boat applications provides the strongest, most durable bond. Contact cement works well for most installations, while pressure-sensitive adhesives offer easier repositioning during installation. Furthermore, having extra blade replacements, cleaning solvents, and protective equipment ensures smooth project completion.
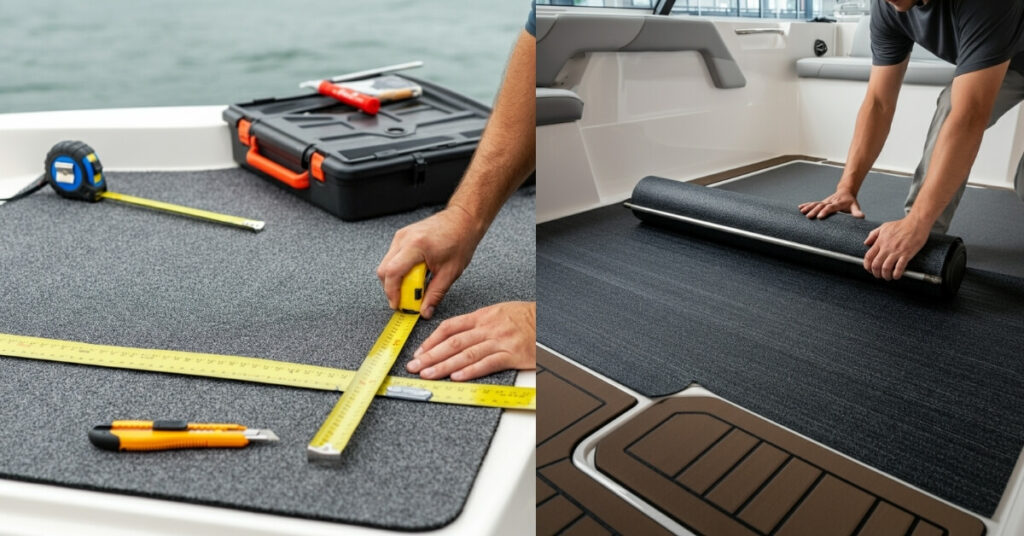
Measuring Your Boat Deck
Accurate measurements prevent material waste and ensure proper fit when you replace carpet on a boat. Start by creating a rough sketch of your boat’s deck layout, noting all obstacles like cleats, hatches, and equipment mounts. Measure each section separately, adding 2-3 inches to each dimension for trimming allowances.
Complex curves and angles require special attention during measurement. Use flexible measuring tape that conforms to the deck’s contours for accurate readings. Additionally, take multiple measurements of irregular areas to ensure consistency. Proper measurement saves time, money, and frustration during the installation process.
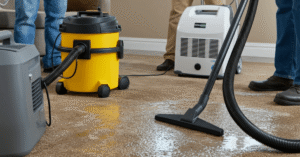
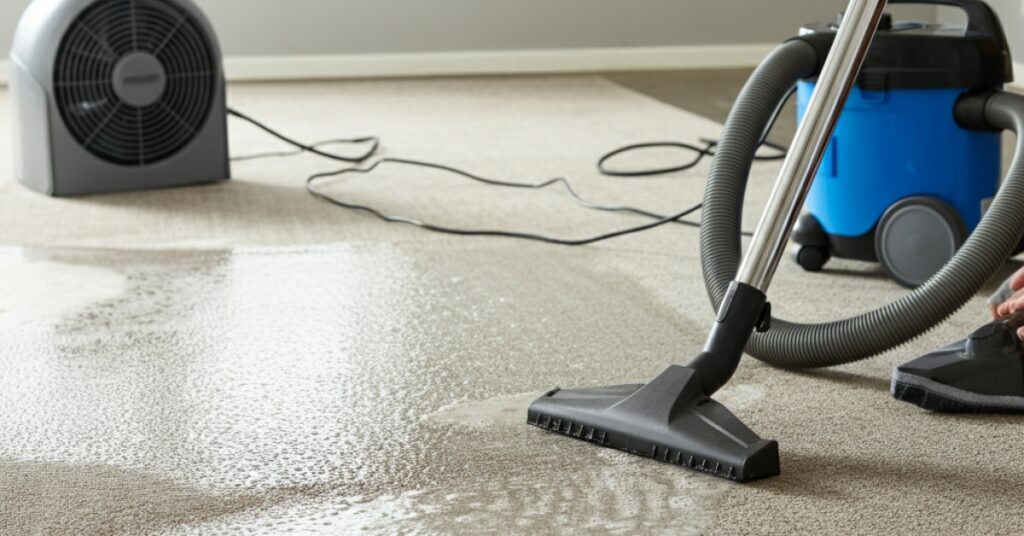
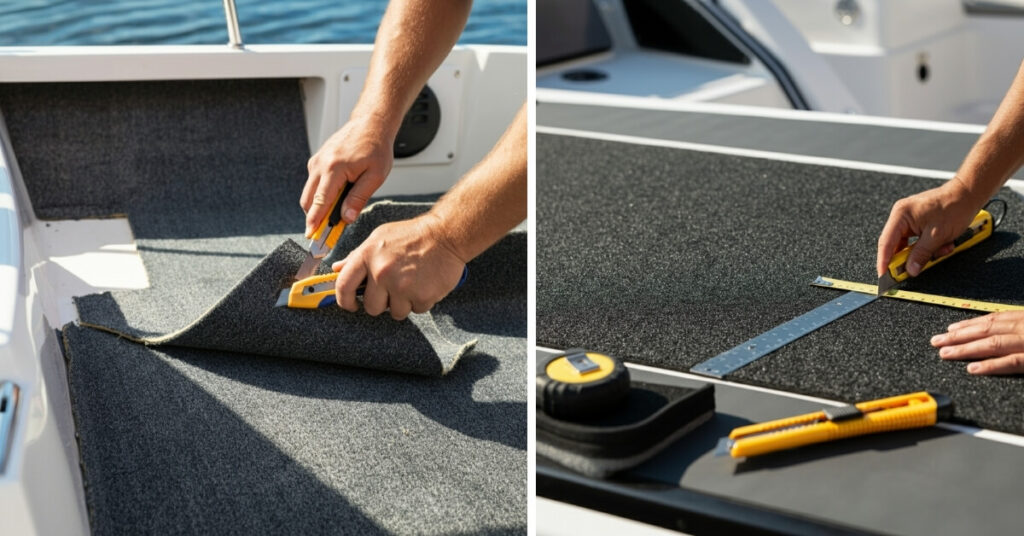
Removing Old Marine Carpet
Careful removal of existing carpeting sets the foundation for successful replacement. Begin by cutting the old carpet into manageable strips using a sharp utility knife. Work systematically from one end of the boat to the other, removing both carpet and any remaining adhesive residue.
Adhesive removal often requires chemical solvents or mechanical scraping to achieve a clean surface. Heat can soften stubborn adhesive, making removal easier without damaging the underlying deck. Clean the entire surface thoroughly with degreasing agents to ensure proper adhesion of your new marine carpet.
Installing New Marine Carpet
Professional installation techniques ensure long-lasting results when you replace carpet on a boat. Start installation from the most visible or complex area, working toward simpler sections. Apply marine adhesive according to manufacturer specifications, typically allowing proper tack time before positioning the carpet.
Work out air bubbles and wrinkles using a carpet roller, applying firm pressure to achieve complete adhesion. Pay special attention to edges and seams where water infiltration commonly occurs. Additionally, use a heat gun to make the carpet more pliable around curves and complex shapes.
Cutting and Fitting Techniques
Precise cutting and fitting separate professional-looking installations from amateur attempts. Use sharp blades and change them frequently to ensure clean cuts without fraying. Make relief cuts around obstacles before attempting to fit the carpet, preventing tears and bunching.
Templates made from paper or cardboard help achieve perfect fits around complex shapes like instrument panels or seat bases. Transfer these templates to the carpet before cutting to minimize waste and ensure accuracy. Furthermore, always cut slightly oversized and trim to final dimensions after test-fitting.
Seaming and Edge Finishing
Proper seaming techniques create invisible joints where carpet sections meet. Butt joints work best for most marine applications, providing clean appearance without overlapping that can trap water. Use seam tape and appropriate adhesive to secure joints against separation from boat movement and weather exposure.
Edge finishing prevents fraying and provides professional appearance around perimeters. Marine carpet binding or vinyl trim strips protect exposed edges while providing attractive finished appearance. Heat-sealing cut edges using a soldering iron or specialized edge-sealing tool also prevents fraying in high-traffic areas.
Maintenance Tips for Marine Carpet
Proper maintenance extends the life of your new marine carpet significantly. Regular vacuuming removes sand, salt, and debris that can damage carpet fibers through abrasion. Additionally, rinse with fresh water after each use to remove salt deposits that accelerate deterioration.
Deep cleaning every few months using marine-specific carpet cleaners removes embedded dirt and prevents odor development. Ensure complete drying after cleaning to prevent mold and mildew growth. Furthermore, protective treatments can enhance stain resistance and UV protection between major cleanings.
Preventing Future Damage
Prevention strategies help maintain your carpet investment longer. Use deck mats in high-traffic areas to reduce wear patterns on the underlying carpet. Additionally, address spills immediately before they can penetrate the carpet backing and cause permanent staining or odors.
Regular inspection allows early detection of problems before they require major repairs. Look for loose edges, worn spots, or drainage issues that might indicate adhesive failure. Furthermore, storing your boat properly during off-seasons protects the carpet from unnecessary UV exposure and weather damage. Want to avoid common mistakes? This article explains how: How to Clean Boat Carpet Mold.
Frequently Asked Questions
1. How often should I replace carpet on a boat?
Most marine carpets last 5-7 years with proper maintenance. However, boats used frequently in harsh saltwater conditions may need replacement every 3-4 years.
2. Can I install marine carpet myself?
Yes, many boat owners successfully install their own marine carpet. However, complex layouts or expensive boats might benefit from professional installation to ensure warranty coverage.
3. What’s the best marine carpet material for my boat?
Polypropylene offers the best drainage and mildew resistance, while nylon provides superior comfort and durability. Choose based on your priorities and budget.
4. How much does it cost to replace carpet on a boat?
Costs vary widely based on boat size and carpet quality. Expect to spend $3-8 per square foot for materials, plus labor if hiring professionals.
5. Should I remove old adhesive completely before installing new carpet?
Yes, complete adhesive removal ensures proper bonding of new carpet and prevents height differences that could cause premature wear.
6. Can I use regular carpet adhesive on my boat?
No, marine environments require specialized adhesives designed to withstand moisture, temperature changes, and boat movement. Regular adhesives will fail quickly.
7. How do I prevent mold and mildew in my new marine carpet?
Choose carpets with antimicrobial treatments, ensure proper drainage, and maintain regular cleaning schedules with marine-specific products.
Transform Your Boat with Professional Results

Successfully completing a marine carpet replacement project requires careful planning, quality materials, and attention to detail. By following these guidelines, you can replace carpet on a boat with confidence, achieving professional-looking results that enhance both appearance and functionality. Remember that investing in quality marine-grade materials and proper installation techniques provides the best long-term value for your boating investment.
As an Amazon Associate, I earn from qualifying purchases.